 |
 |
|


|
设计名称 |
左支座零件钻4-φ13螺栓孔及铣5mm槽夹具设计【B型】毕设 |
 |
|
设计编号 |
V160 | |
|
设计软件 |
AutoCAD, Word | |
|
包含内容 |
见右侧图片 | |
|
说明字数 |
20000字 | |
|
图纸数量 |
见右侧图片 | |
|
推荐指数 |
较高 | |
|
价格: |
价格优惠中 | |
|
整理日期 |
2013.09.26 | |
|
整理人 |
小林 | |
|
购买流程 |
<查看如何购买本站设计> |
|
设计简介 |
设计描述:
文档包括: CAD版本图纸,共10张
关键词:工艺规程;定位误差;夹紧;加工余量;夹紧力 This design task is to do the support parts of the process and tooling design, Enable producing the target in process of production (raw materials, the blank, state of quality and quantity on part become always ) take place direck course of change ask craft course, it the blank is made, machining, heat treatment, assemble etc. and call it the craft course. In the course of making the craft , is it confirm every erector location and worker step that process need this of process to want, the locomotive of processing, this process, and entering the giving amount of the lathe, cut depth ,the rotational speed of the main shaft and speed of cutting , the jig of this process , the cutter and measuring tool , a one hundred sheets of number of time still leaves and a one hundred sheets of length leaves , calculate basic time of this process , auxiliary time and service time of place of working finally. chooses one of its critical processes to carry on the unit clamp and the processing with the aggregate machine-tool design, and completes the essential design calculation. The localization uses a spindle's locate mode, to select this method definitely to be able to satisfy the accuracy requirement. Moreover simple convenient, the production cost is low, the versatility is good. Because the support body's productivity is quite big, for the quality assurance, raises the processing efficiency, needs to carry on the optimization design to its processing craft, and carries on the processing in the critical process use aggregate machine-tool or the special purpose machine. Key words :Technical instruction; position error; clump; the surplus of processing; clamp strength
|
|
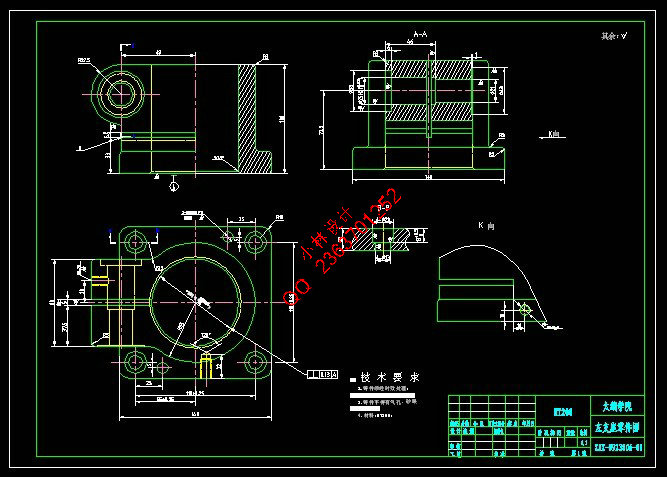
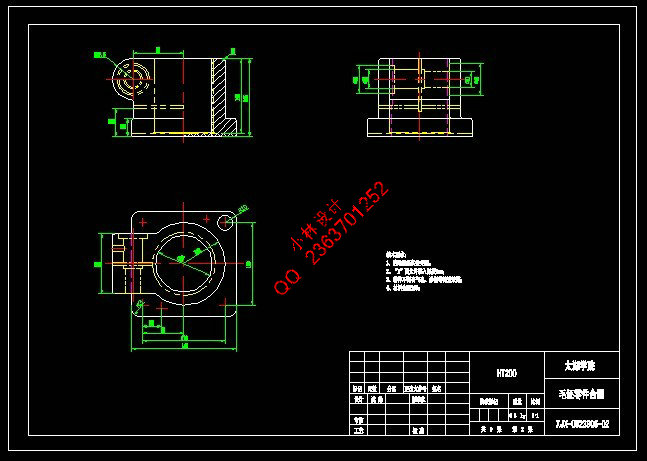
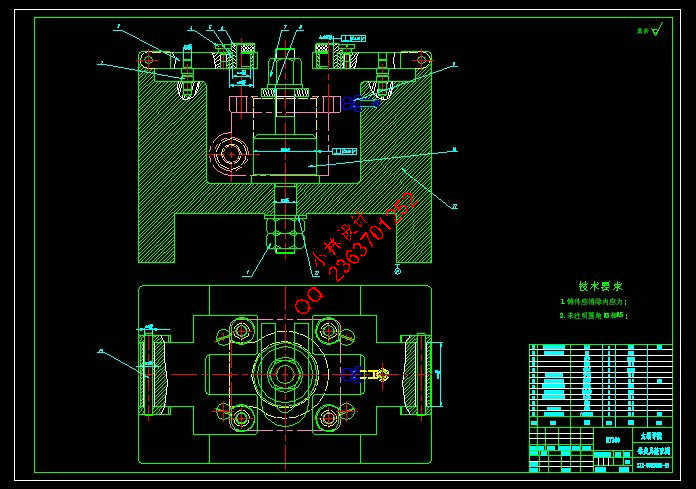
部分图纸 截图 |
    |
|
说明: |
如需了解本设计的具体详细信息请联系本站客服,说明看哪个设计(编号)哪个详细部分,我们将远程或截图给您观看. 机械毕业设计|论文 |

| [要求PR≥2,百度收录≥1000页;联系QQ:178308054] |
Powered by 小林机械资料商城 © 2013-2020 All Rights Reserved. 客服QQ:178308054
喜欢www.xiaolinbysj.com,请告诉你QQ上的5位好友,多谢您的支持! 皖ICP备2021006205号-1
